Saturday, November 14, 2020

How to Enable Chevrolet Impala Afterblow with GM Tech2


Problem:

I am getting a funky smell when I turn the AC on in my 2007 Chevrolet Impala. I figure the cabin air filter has gotten something bad in it. Just wondering where to get them and how complicated they are to swap out.  Does enabling the Afterblow require a GM Tech2 scanner or can it be done with a hand-held? (Actron CP9580 is what I have).

Solution:

Requires a Tech 2. You need to able to access and modify the BCM parameters. Even HPTuners can’t do any of that. Tech II is the only device I know of that can do it.
However, a dealership should enable it for you for free under the bumper-to-bumper warranty.  Just tell them you have a “dirty sock” smell at time when turning on the A/C and they should do it.

This is assuming that the 9th gens have the required hardware “built in” – not all cars do – some require a “kit” for the added parts needed… I would assume the 9th gens do, but not 100% sure.

This is a known issue (seems to be more and more common on newer vehicles) and there is even a TSB that covers it. The TSB addresses the problem by cleaning the A/C system with some sort of deodorizer (smell is caused by mold) and then enabling an “afterblow” option, which will run the interior HVAC fans for a few minutes about 45 minutes after you park the car (as an attempt to “dry out” condensation from the A/C system.
I’ve had the TSB done to my 2012 Impala, including enabling the afterblow option.

Regarding the “Afterblow option”, when enabled, here is how they enable it and the circumstances under which it will operate (TSB #99-01-39-004C):

Use the following procedure in order to enable the afterblow mode:

Connect the GM Scanner tech 2 scan tool.

Turn ON the ignition, with the engine OFF.

Select HVAC Module.

Select HVAC Systems Automatic.

Select Special Functions.

Select HVAC.

Select Afterblow Option.

Select ENTER to enable the afterblow.

When done, use the soft key to save changes.

When afterblow has been enabled by the scan tool the blower motor will operate between medium and high speed for 4 minutes after the engine has been turned off.

The following conditions must be met for the HVAC module to operate the afterblow:

The outside air temperature must be at least 21°C (70°F).

The A/C compressor must operate for more than 2 minutes.

The engine must be turned off for at least 45 minutes.

The system voltage must be at least 12 volts.

Hope it helps.

Monday, November 2, 2020

How to Install Jaguar & Land Rover JLR Pathfinder on Win7 and Win 10


This is a step-by-step guide on how to install JLR Pathfinder VCI DoIP on Windows 7 and Windows 10.As we know that JLR SDD only support Jaguar and Land Rover before 2017,but JLR Pathfinder can support new vehicle after 2017.(it can not support before 2017)

Preparations:
JLR Pathfinder Free Download and Installation
JLR SDD v160 & Pathfinder Download /Installation (This installation guide only apply here installer)
Note:Make sure your PC C:/ drive have more than 55GB free drive.

Procedures:
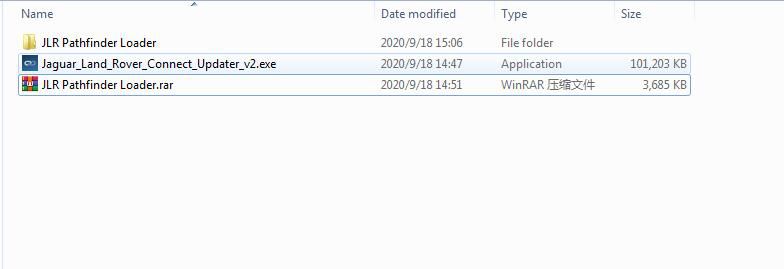
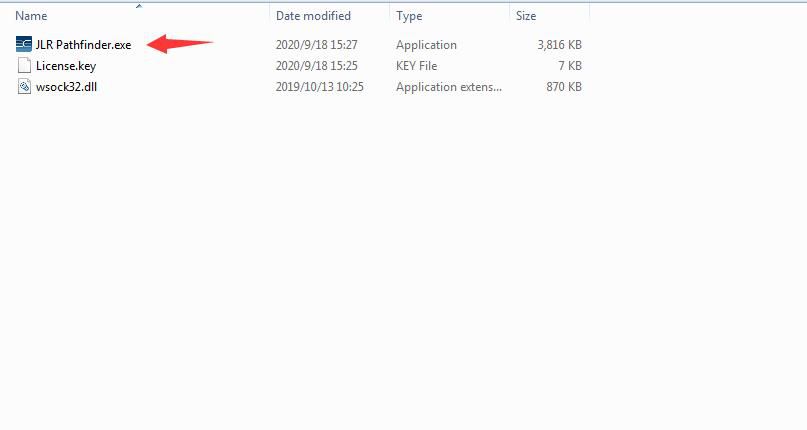
After extracting,you will get below files

how-to-install-jaguar-land-rover-jlr-pathfinder-on-win7-and-win-10-1
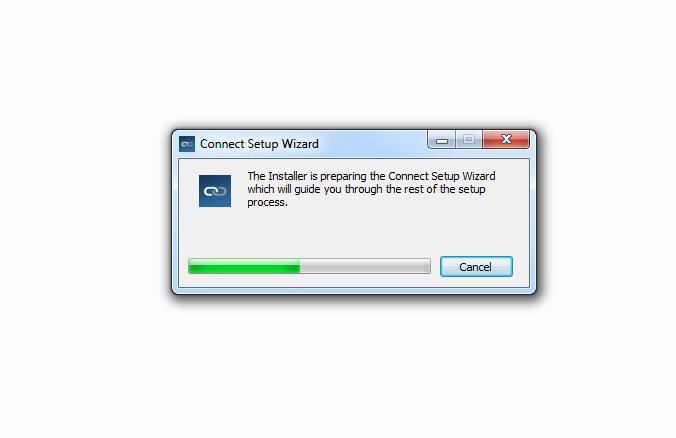
Double click “Jaguar_Land_Rover_Connect_Updater_v2.exe” to run installation

how-to-install-jaguar-land-rover-jlr-pathfinder-on-win7-and-win-10-2
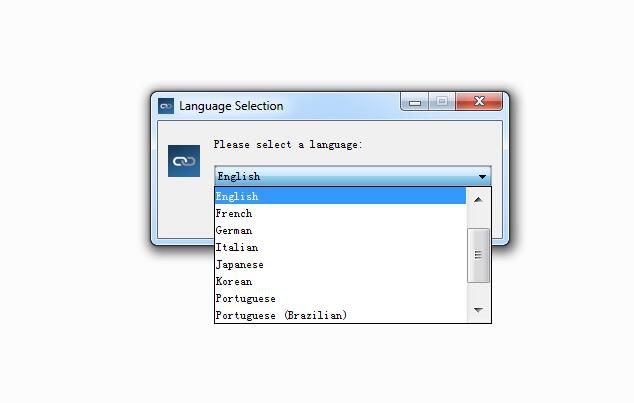
Select language you need

how-to-install-jaguar-land-rover-jlr-pathfinder-on-win7-and-win-10-3
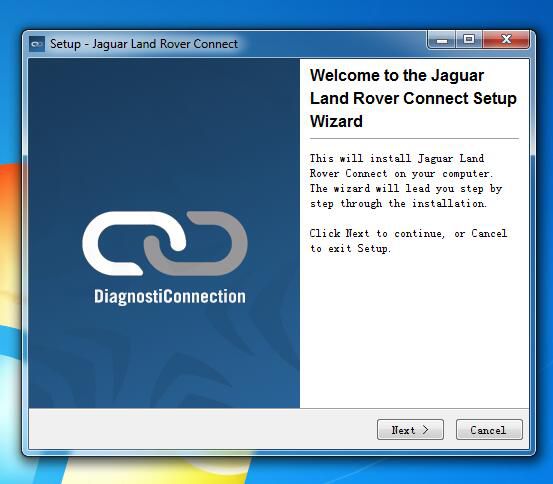
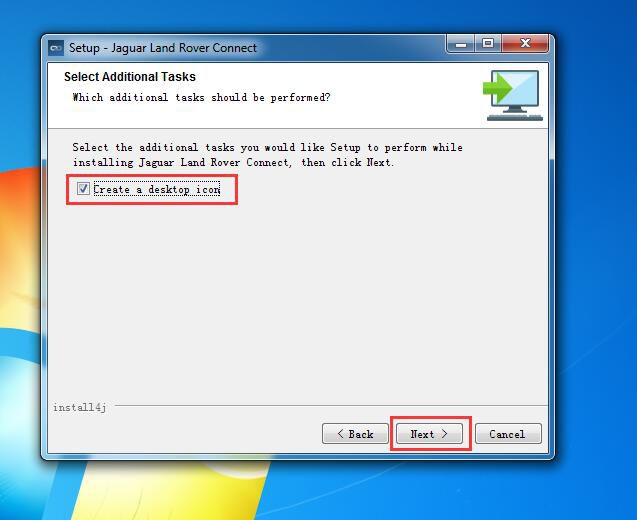
Just follow the setup wizard to click “Next” to finish installation.

how-to-install-jaguar-land-rover-jlr-pathfinder-on-win7-and-win-10-4
how-to-install-jaguar-land-rover-jlr-pathfinder-on-win7-and-win-10-5
Click “Finish” button to done the installation
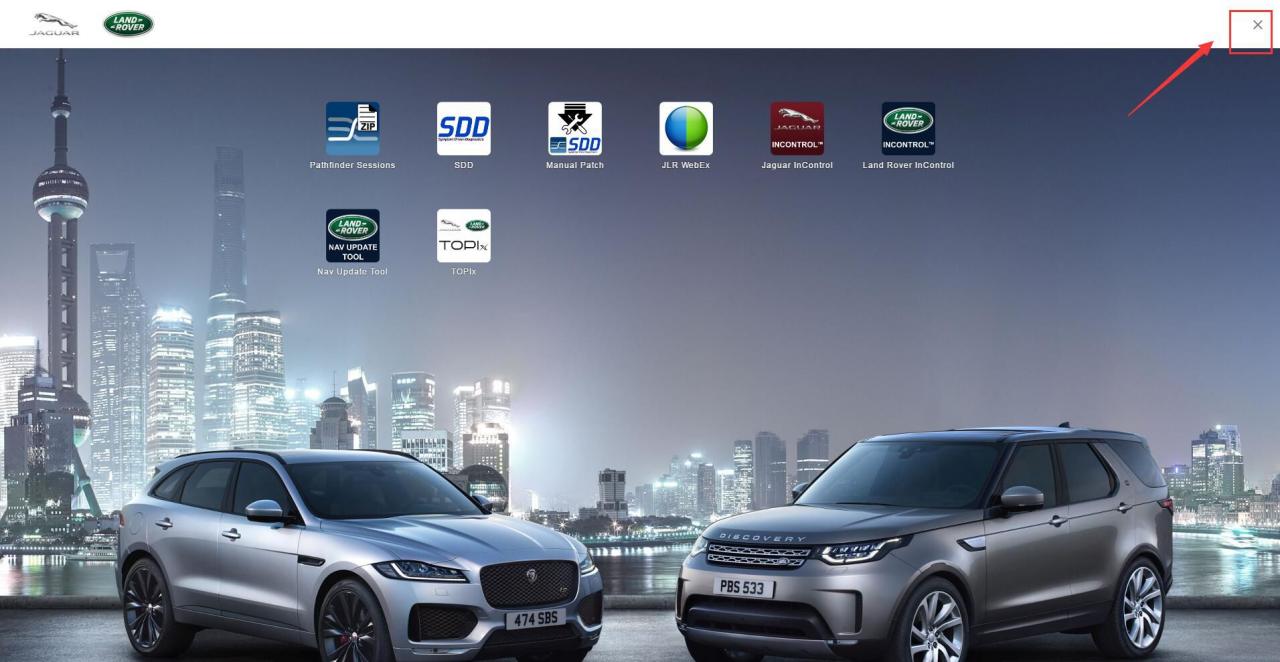
Close the Windows

how-to-install-jaguar-land-rover-jlr-pathfinder-on-win7-and-win-10-6
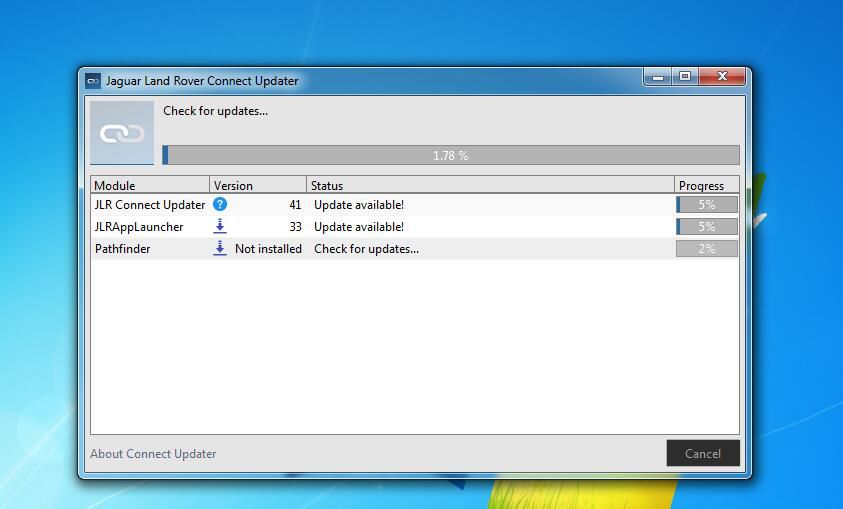
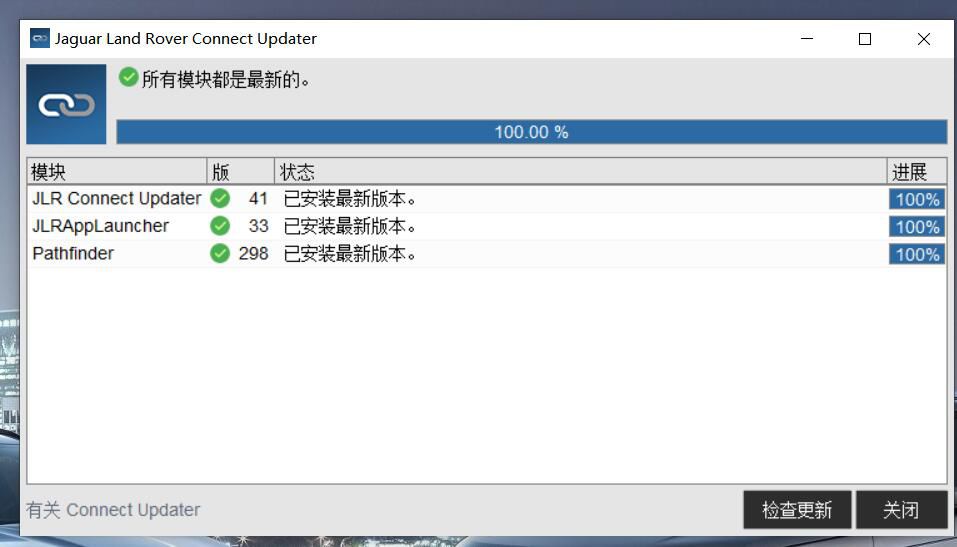
And now it will run update installer for you PC,find it on your task bar

how-to-install-jaguar-land-rover-jlr-pathfinder-on-win7-and-win-10-7
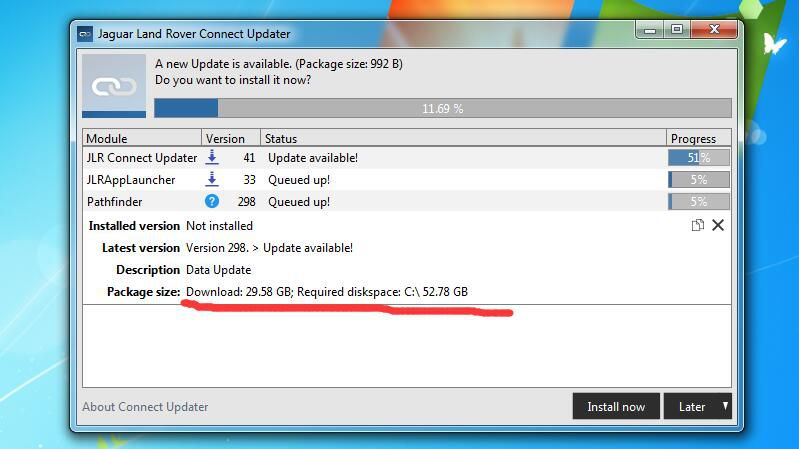
It will take long time to download and install Pathfinder on your PC
And make sure you PC have more than 55GB free space on your C:/ drive,it only can install in C:/

how-to-install-jaguar-land-rover-jlr-pathfinder-on-win7-and-win-10-8
Wait download and installation process finish like below all 100%

how-to-install-jaguar-land-rover-jlr-pathfinder-on-win7-and-win-10-9
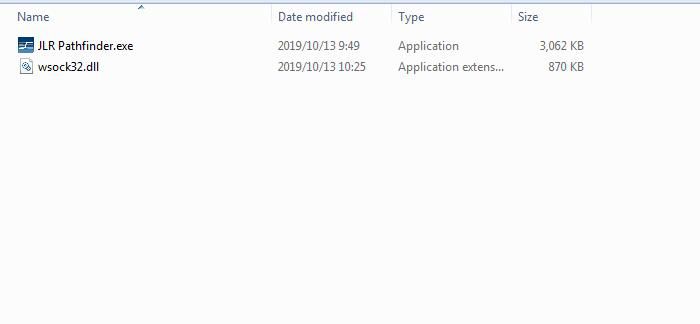
Now please go back download “JLR Pathfinder”folder to open “JLR Pathfinder Loader” folder
Double click “JLR Pathfinder.exe”(Note:if your anti-virus kill it,please disable your PC anti-vrisu software before installation.)

how-to-install-jaguar-land-rover-jlr-pathfinder-on-win7-and-win-10-10
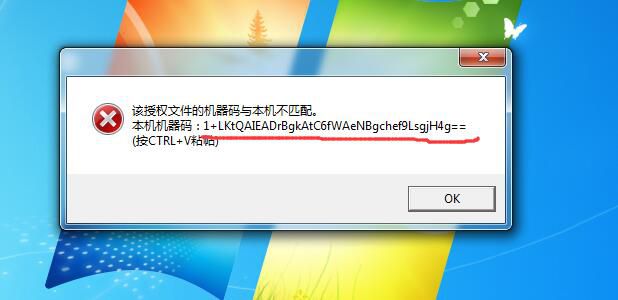
It will prompt you run this program new license key,then click “OK”
Now you get this message,just press “CTRL+C”,and sent this HWID to us(carauto[email protected])

how-to-install-jaguar-land-rover-jlr-pathfinder-on-win7-and-win-10-11
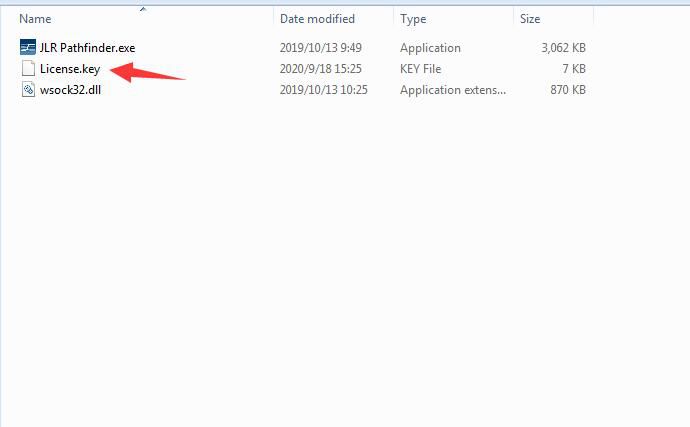
Our tech team will sent you license key file,after then put the license key file in “JLR Pathfinder Loader” folder

how-to-install-jaguar-land-rover-jlr-pathfinder-on-win7-and-win-10-12
Now double click “JLR Pathfinder.exe” to run
Make it as desktop shortcut to desktop,and if you want run Pathfinder,you need use this JLR Pathfinder to run.
Note:Please delete “JLR App Launcher” icon on desktop,and do not run it,otherwise will make it can not work.

how-to-install-jaguar-land-rover-jlr-pathfinder-on-win7-and-win-10-13
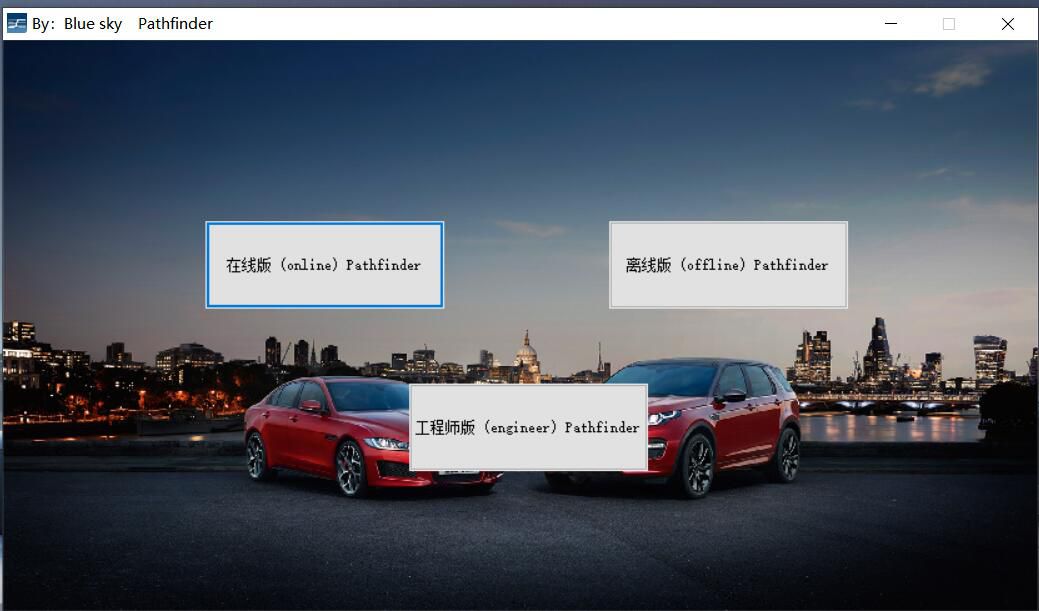
It will show you three version
Online/Offline/Engineer
Select which version you need

how-to-install-jaguar-land-rover-jlr-pathfinder-on-win7-and-win-10-14
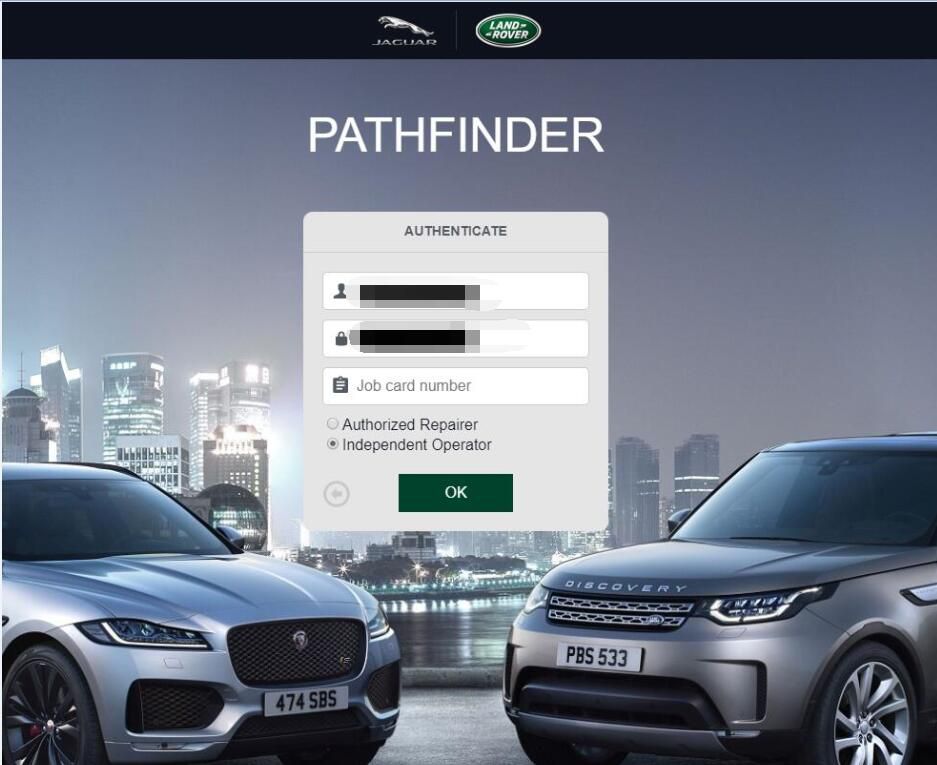
Input user ID and password,select “Independent Operator” and click “OK”

how-to-install-jaguar-land-rover-jlr-pathfinder-on-win7-and-win-10-15
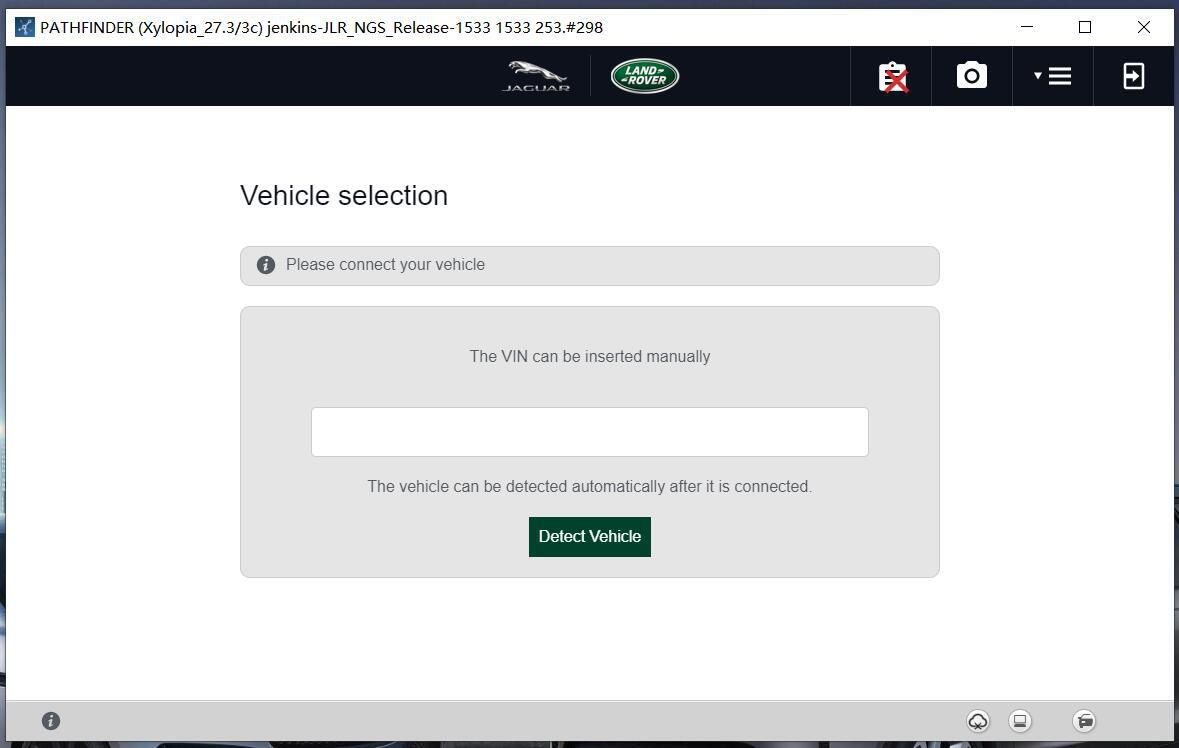
Now it run

how-to-install-jaguar-land-rover-jlr-pathfinder-on-win7-and-win-10-16


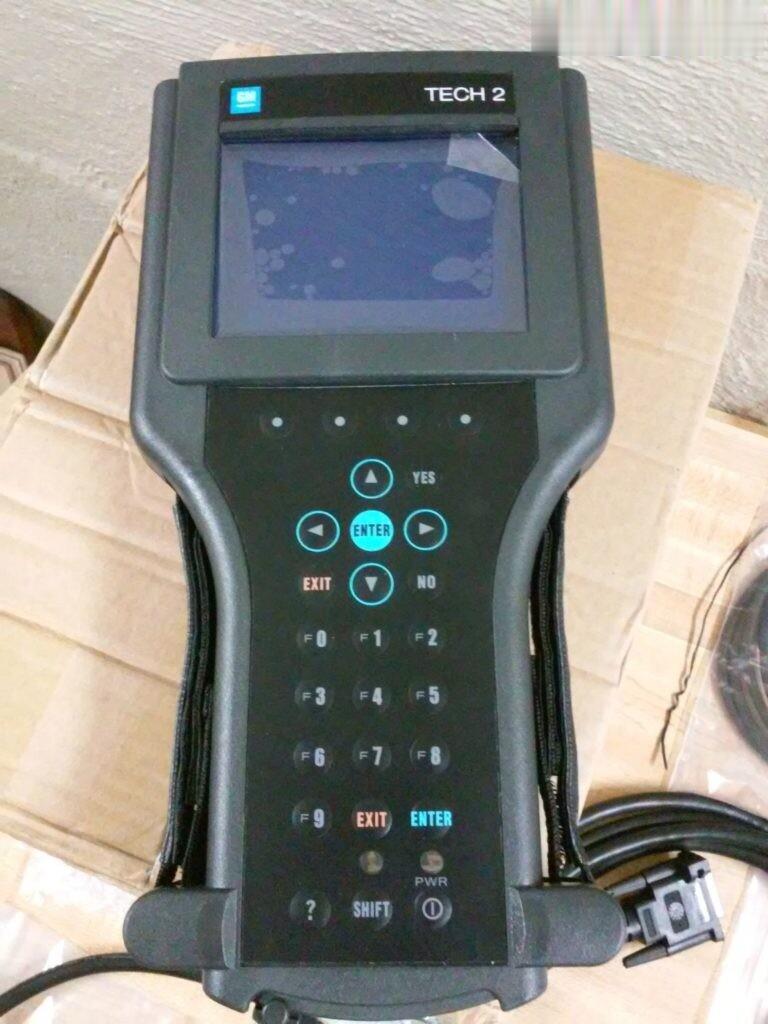
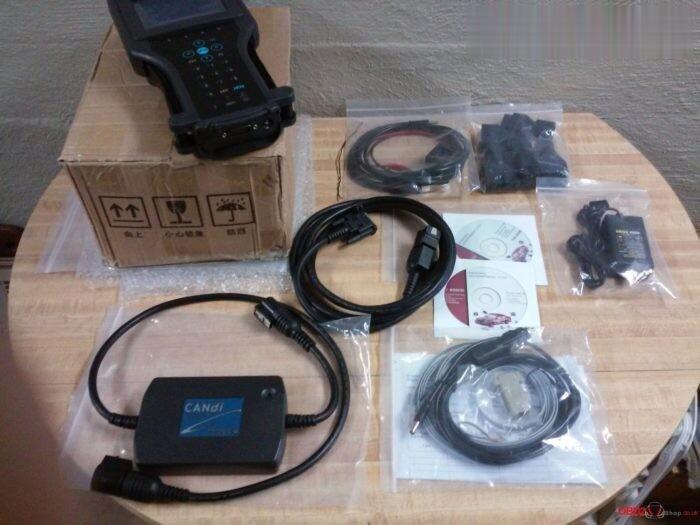
GM Tech2 Clone Purchased (With Quick Guide) Good Test


I have my GM Corvette C6, 07 2500 GMC, 09 Cobalt that GM Tech2 clone will work on. Have another scan tool for our foreign cars.
Surprises were, this thing is bigger than I thought. It’s a foot tall by 6″ wide. It needs the velcro straps it comes with.
Shipping was a shocker. China to Cincinnati in two days. Ordered it Sunday evening, they processed it quickly, shipped it Monday morning and it was sitting on my front porch today, Wednesday by noon.

I bought with case pack. 329usd total, free ship to USA by DHL.
Tested it on my GMC truck and all seems fine. Connector for older OBD1 as well for 91-95,6 too. Latest software for GM 33.004.

The memory card works in either slot, I tried both although the disc says to install in upper slot. It’s a tight fight because the spring loaded door doesn’t quite open enough for the card to slide in easily. I got it in with a touch of prying. Not a big deal.

Entire purchase process was easy with no problems at all. It is a great scan tool kit for not much money. Time will tell how it holds up long term but from other members reports they are getting years out of them.

The unit performs flawlessly. I’m convinced this is manufactured by the same manufacturer who built the official units for GM (Vetronix), or at least built based on official plans. It’s not a “clone” per se, but the actual product un-branded (you get official stickers in a bag if you need those kinds of things. I threw them away). One of the most likely opinions I’ve read is that these are the manufacturer’s old stock getting dumped since GM is not buying these anymore.

Tried all self-tests, including CANdi (important: CANdi only works when connected to the car). I went through the DTCs of all the systems, logged some ABS sensors, actuated some solenoids. Everything went smoothly.

gm-tech2-clone-mux-2 (2)
gm-tech2-clone-full-package-1 (2)

Thanks to @ J.Moore & steel_3d (corvetteforum.com members) for their buying experiences good. He got this from Ali.

While a lot of users prefer chinacardiags.com, take this user’s feedback for example: They charge more than the sellers on AliExpress but I was able to use PayPal and had no issues with payment or shipping (got the package a week after I ordered it). I certainly wouldn’t want to send copies of my driver’s license/ID to buy something online.

Attach GM Scanner Clone Tech 2 quick start guide for reference:

Here Clone Tech 2 user manual, personally the manual is hard to navigate and pretty badly organized. Should’ve just connected the candi with obd2 and gotten to work. At least I should’ve jumped to the end of the manual for CANdi setup instructions. So I’ll give some tips here to save some time for first time users.

Quick start guide a la Steve:

-Unpack unit. There is a bunch of junk you don’t need.

-Insert PCMCIA card into slot under flap at top of unit. Only one slot is accessible. The card will go in both ways, but will only seat fully one way. If it doesn’t seat all the way, don’t force it, try the other way. Eject with the button to the right of the card socket.

-Connect main cable to Tech 2. Make sure lock lever is all the way left, so it doesn’t get in the way of the cable connector.

-Connect CANdi module to the main cable. This is the cable with the large rectangular box module on it. The connectors can be hard to connect at first. Don’t be afraid to use some force and some wiggling until the metal tab clicks into the hole.

-Connect OBD2 plug to CANdi module.

-Connect OBD2 to vehicle.

-You generally don’t need any power adapter, as the unit is powered through the OBD2 port. If you have grounding issues, you can try the lighter adapter. I had no issues.

-Turn ignition to ACC or ON (some modules only work when ON, some maybe only with engine running).

-Turn on the Tech 2.

-Unit goes through power on self test.

-CANdi module should have flashing LED to signify it’s working. If it’s off or lit solid when connected to the car with Tech 2 powered on, you have a problem.

-Press Enter to get into the menus.

-Go to diagnostics.

-Enter year and make of your car when prompted. Model is “Y” for Corvette. Might also ask you for transmission or other things depending on the module you’re trying to diagnose. (It’s really dumb that the unit doesn’t have an auto-detect function for this based on ECU VIN.)

-Going through the rest of the menus is self explanatory.

-If you get stuck at any point, read the CANdi section at the end of the manual. If you’re still stuck, read the whole manual.

Thanks to Laurance’s collection.

Saturday, October 10, 2020

Best OBD2 Scanner for Mercedes Benz in 2020

If you have a Mercedes Benz, then you want to keep it in as good of shape as possible.

Although the German engineering does a great job already, you have to perform routine maintenance to ensure that it continues purring like a kitten.

Having a diagnostic code reader is a quick and easy way to do this, which is why we are taking a look at the mercedes benz scanner.

These devices will make it easy to monitor and diagnose your vehicle so that you can stay on top of any engine problems.

Let’s see how that can help you get the most out of your Mercedes.

Comparison Chart

IMAGE PRODUCT
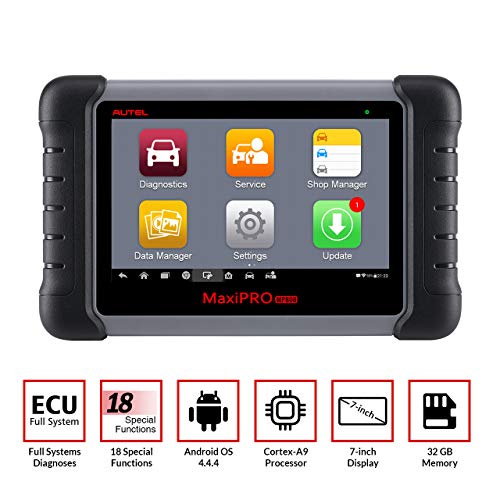
TOP PICK!Autel-Maxidas-DS808 1. Autel MaxiDAS DS808
  • Simple and easy to use
  • Professional-grade scanning system
  • Read real-time data
  • Update your car’s ECU
VIEW ON OBD2TOOL
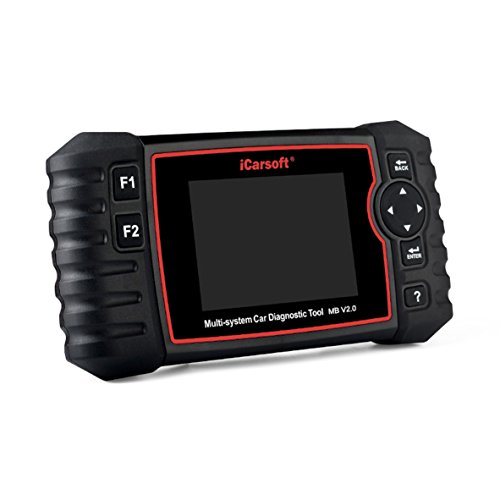
BUDGET PICK!iCarsoft 2. iCarsoft
  • Portable design
  • Simple and easy to use
  • Designed for all Mercedes vehicles
  • Live scanning of auto systems
VIEW ON OBD2TOOL
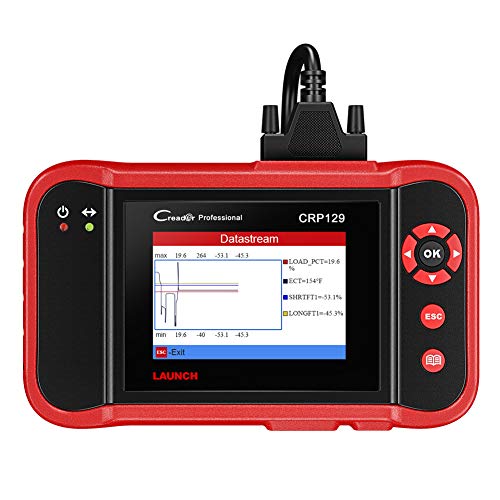
Launch-CRP129-OBD2 3. Launch CRP129 OBD2
  • Large screen for better visibility
  • Works on all makes and models
  • Simple and easy to set up
  • Rugged housing for longer life
VIEW ON OBD2TOOL
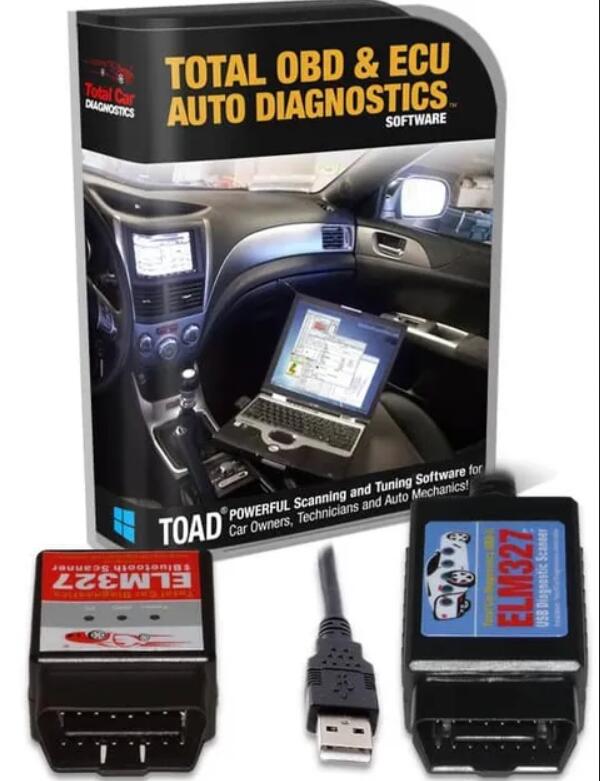
TOAD-Total-Onboard-Auto-Diagnostics 4. TOAD – Total Onboard Auto Diagnostics
  • Comprehensive data package
  • Works on all vehicles, not just Mercedes
  • Check and diagnose all drivetrain systems
  • Upgrade your car’s ECU
VIEW ON OBD2TOOL
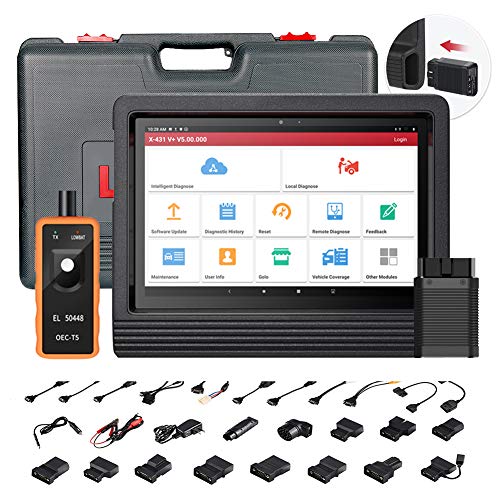
Launch-X431-PRO-V+5. Launch X431 PRO V+
  • Compact and portable design
  • Works on all car’s internal systems
  • Wireless connection for convenience
  • Checks and resets all dashboard lights
VIEW ON OBD2TOOL

How to choose the best OBD scanner for you

If you’re looking for insights into how your vehicle is working or what’s wrong under the hood, there’s no better way than to plug in an OBD2 scanner and read the results. After all, it’s how your car dealer or repair shop would figure out what’s wrong with your car when you drive (or are towed) in. Why shouldn’t you have the same information?

The best automotive tool provide the right mix of size, weight and the ability to read your car’s fault codes and live data. The most important criteria are:

*  Easy setup. If it takes forever to set up the scanner, you probably won’t use it to diagnose a problem early.
*  Faults and explanations. The best OBD gear not only tells you the faults your car has but also can explain the meaning so you can either fix it yourself or tell a mechanic.
*  I/M Readiness check. A good scanner will run the major engine and emissions tests to see if you’ll pass your state’s inspection.
*  Accuracy. A scanner is worthless if its results aren’t accurate, because the only thing worse than no information is incorrect information.
*  Size and weight. If the scanner is heavy and bulky, chances are it’ll stay in your toolbox and not in the car to help you on the road.
*  Live data. By tapping into the car’s engine speed, timing and other parameters, the right scanner can help track down an intermittent problem.
*  Graphs. Numbers are good, but a visual representation of it is much better, particularly if you’re comparing before and after.
*  Warranty. You expect your car to last at least eight or 10 years, so why shouldn’t your OBD2 scanner? That said, the best offer a lifetime warranty that should outlast your ride.

There’s a gas tank full of criteria used to determine which Professional Diagnostic Tool is the best one for you. The most important is whether you want one that connects with your phone or tablet’s screen over Bluetooth or a handheld unit with its own display and cable.

Next, think about longevity and get one that includes lifetime warranty or software updates so the scanner will stay current with changing automotive tech.

Then, how about screen size for a handheld scanner? Get the biggest, brightest and easiest display to read that is icon based for easy changes. If you’re clumsy, look at rugged scanners with rubber bumpers to absorb the shock of being dropped.

Look for extras Auto Scanner that are included on some models, like an electrical multimeter, the ability to read a manufacturer’s proprietary codes or export documents as Acrobat PDF files. Finally, the price for these sophisticated devices is right on par with professional-level scanners that are available for under $100. That’s barely an hour’s labor for a qualified mechanic, making it a win-win purchase.

Tuesday, October 6, 2020

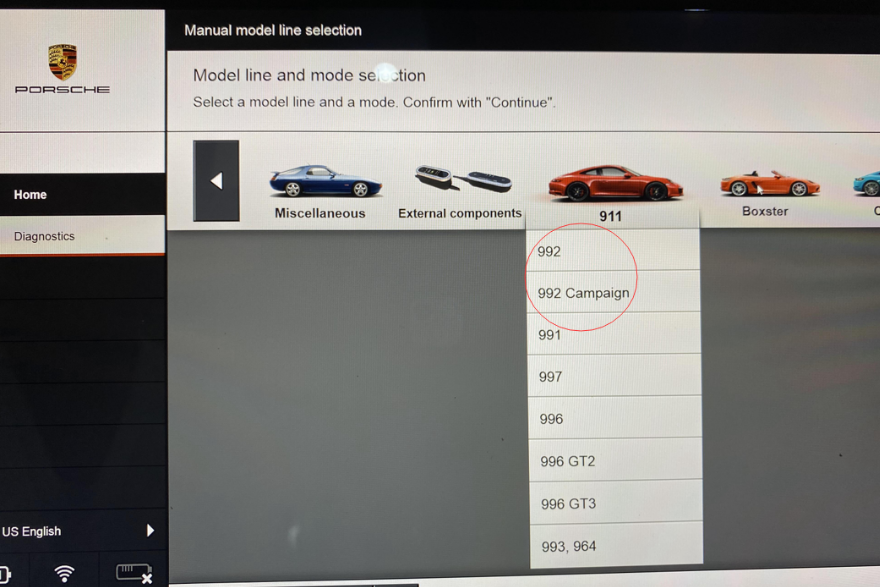
Porsche Piwis 3 Compare With Porsche Piwis Tester 2


As the Piwis 3 for Porsche diagnostic & programming released, most client inquiry for the Piwis 3 to replace Piwis tester ii for Porsche new models. Some client asks what’s the difference between Piwis Tester II & Piwis 3. whether the Piwis II work with the Piwis 3 software?

The Piwis 3


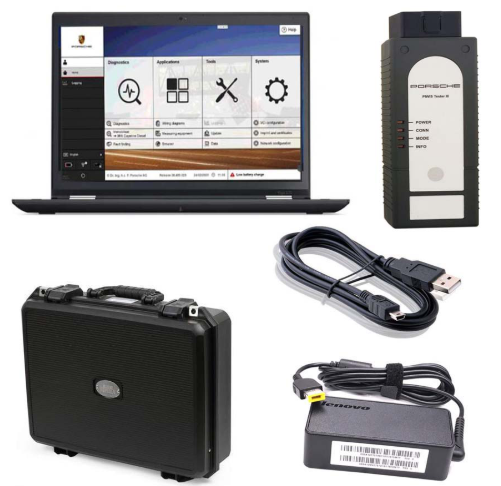
The Porsche software starts automatically, but the Microsoft button functions and you can do other things at the same time such as TeamViewer or open an internet page. The VCI ( the part that connects to the diagnostic port) is smaller and the cable connecting is shorter, but it is a standard USB to miniUSB cable so you can purchase an longer one anywhere.

The Porsche Piwis 3 Tester III can be changed from after sales mode to developer mode which allows for a lot of special features ( looking at you who want to disable start stop permanently). The software installed on a SSD, is work faster and easier to use than the previous version. For example on the diagnostic program, the tester auto detects the car model. Just plug it in, turn the key on and it does its thing. For me, I’m not sure if it is a function of the unit I have or not but the guided fault finding works well. Click on any fault and press the fault finding button and the unit tries to provide you a diagnostic plan. The plan is better and the English description is better. I haven’t tried the wiring diagram software but I imagine it works as well as the previous version. There is a new ODBC program on the unit that reads standard ODBC codes, I am wondering if this unit can be used for other cars for simple code reading. I will try it on a buddy’s car next week and let you know. There is a oscilloscope function and a multimeter function but the laptop clones don’t come with these cables. If you check out the link I added you can see a factory tool and what that kit contains as compared to a laptop clone with VCI. All in all it is a better tool but really can’t do more than the piwis tester 2 can do, only faster and on cars from model year 2018 to current which the Porsche diagnostic tool Piwis 2 can’t do.

What Do the Piwis 3 updates replace Piwis 2?

Diagnostics application is used for communication with control units. You can search for, identify, code and control program units, read out the event memory, execute complex processes, change drive links and execute routines.

Guided fault finding (GFF) generates a test plan for a fault code. This test plan shows the best sequence for carrying out tests. GFF compiles a list of recommended tests, documents and wiring diagrams

Actual values/input signals functions display you the actual values and input signals of control units

Drive links/tests function displays the drive links of control units, allows you to change the parameters of these drive links and run test routines for individual control units

Maintenance/repairs function group – use this function to call up control unit-specific processes that cannot be implemented generically from the ODX data

Coding/programming function group – use this function to write coding values. Piwis 3 can code Values automatically or set manually. This function group includes (Automatic coding, Manual

coding, Customer-specific settings, and Factory settings) coding modes

Logging – use this function to activate logging for diagnostics, guided fault finding (GFF) and measuring equipment applications. Temporary and permanent working log can be created

Filter – use this function to limit the view of the control units installed in the vehicle. In the diagnostic application, you can create, edit, activate, deactivate or assign filters

Wiring diagrams application is the representation of physical connections and layouts of circuits

Measuring equipment interface work for DC and AC voltage measurement, direct and alternating current measurement, diode testing, resistance measurement, continuity/open circuit testing, showing voltage, current and resistance over time (oscilloscope function)

How to install Ford IDS V112/Mazda IDS V112 on native machine

VXDIAG VCX Nano for Ford/Mazda 2 in 1 Diagnostic and Programming Tool installation instruction

One device support both Ford and Mazda and it can support vehicle 2005- 2018 year.
Note: VXDIAG VCX NANO for Ford/Mazda not support F150, F250, F350, F450, F550, F650, F750 before 2010


Requirement on computer:
1.Computer has at least 4GB Memory
2.Computer need produced after 2000 year, too old computer can not run the software.
3.Operating system: Win7/Win8/Win10 (free to try yourself)

How to install Ford IDS V112/Mazda IDS V112 on native machine?
The diagnostic software must be installed first, and the device driver must be installed.

1.Free Download IDS V116 software fro VXDIAG Ford IDS V116
https://mega.nz/#F!fcoVnYZT!jpEjr4HHXU5Ifg8Hm0xERg Mazda IDS V116
https://mega.nz/#F!bMg1ECzT!BjEMSq1TUvdgn2aT2CKTEg Ford_Mazda IDS Patch (No need VMware)

https://mega.nz/#F!OV4RRC6B!seCWP6UCzOPWEDYlQxZ1iQ


2.Here is the installation steps:

Step 1: Install IDS setup:
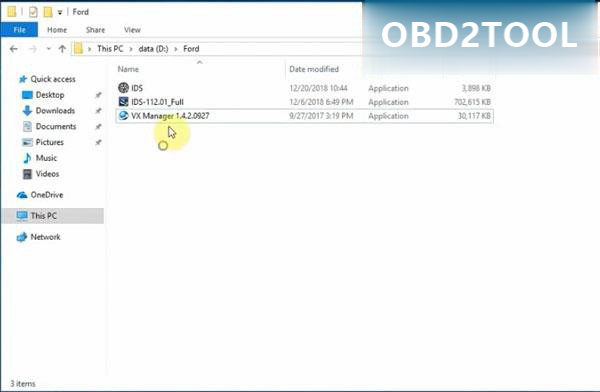
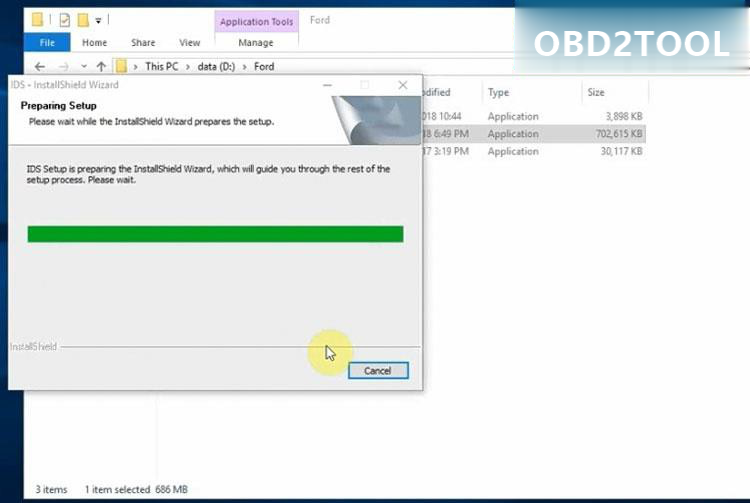
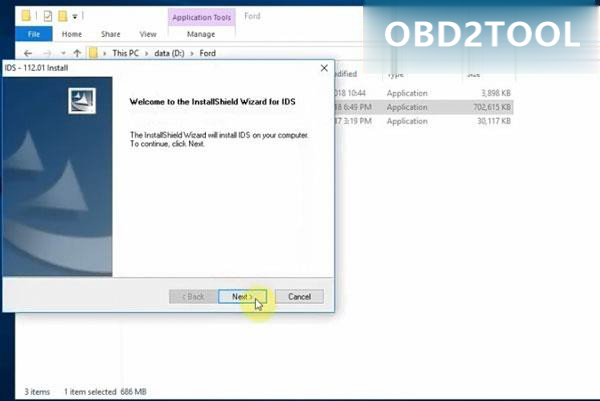
A.Install IDS-112.01_Full setup


B.Accept license agreement Select destination folder
Click on Instal

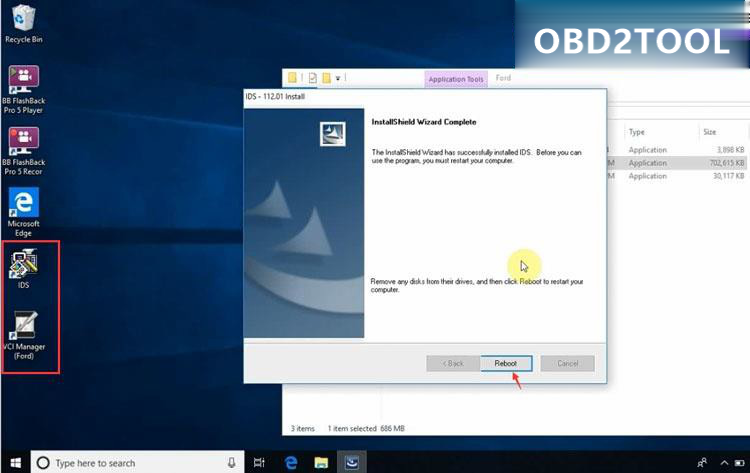
C.Install IDS 112.01 installshield wizard until completed

D:Restart computer after installing setup

Step 2: Install VX Manager

A:Open VX Manager

Accept license agreement Press Next

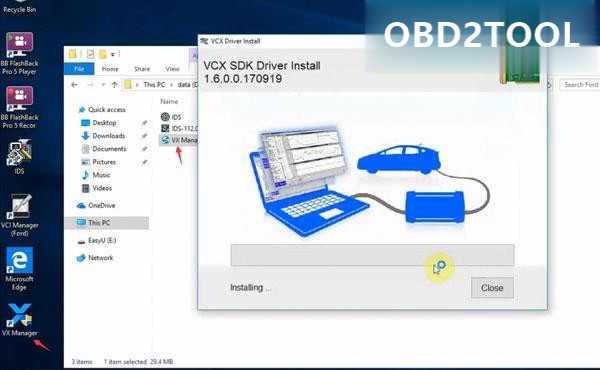
B:Installing VCX SDK Driver

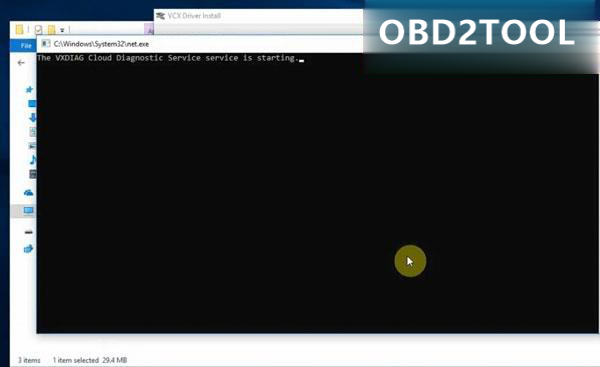
C:This will also start VXDIAG Cloud Diagnostic Service

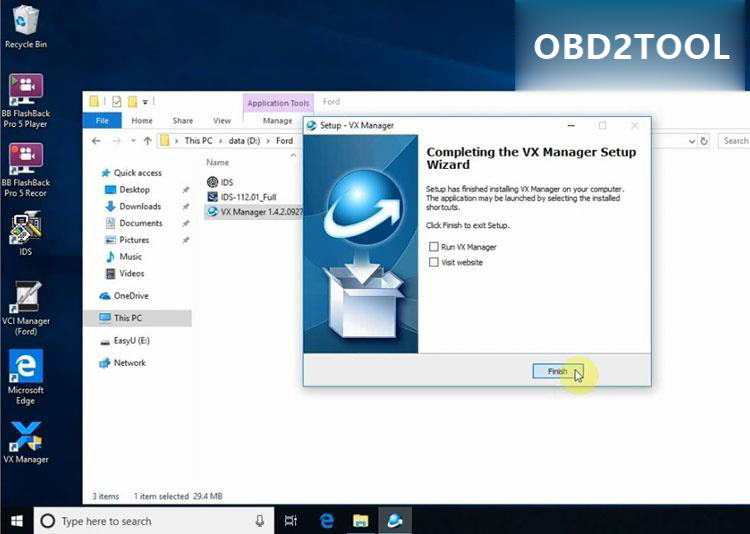
D:VX Manager installation completed

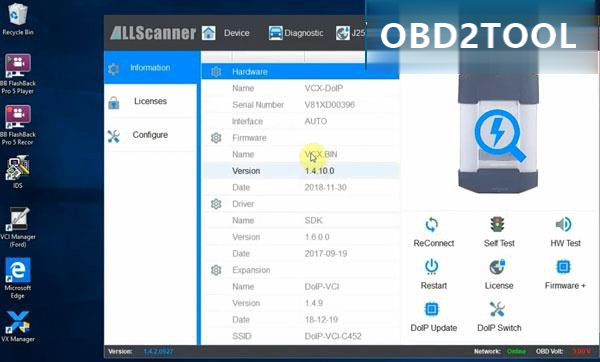
Connect the VXDIAG Ford interface with laptop

F:Open VX Manager to check connection status (If use VCX-DoIP interface, it will auto detect and connect to laptop)

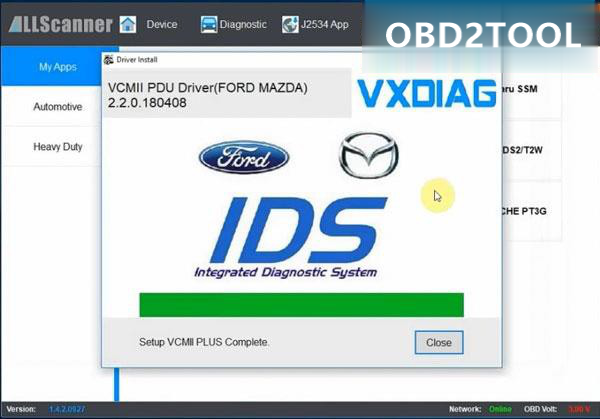
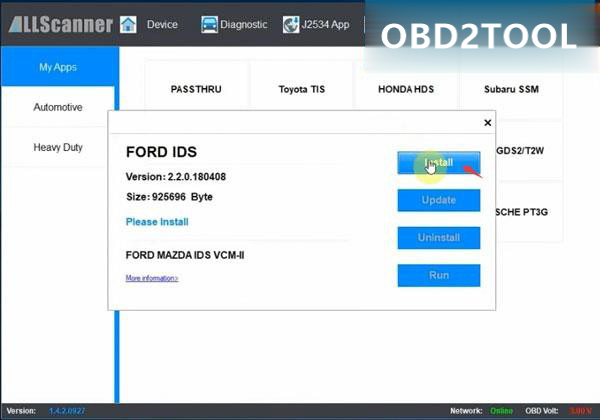
G:Select Diagnostic Software: Ford IDS


H:Install Ford IDS driver

Step 3: Install Patch & Run IDS

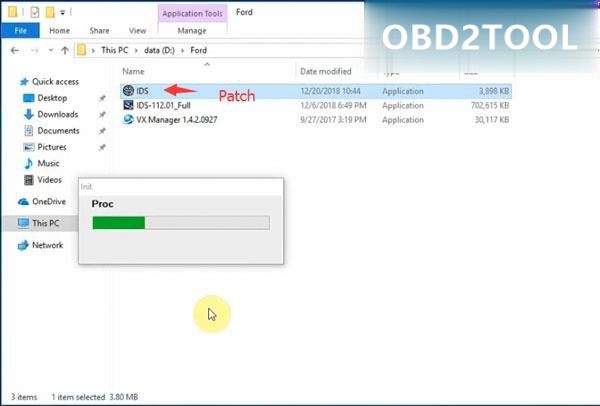
A:Open IDS patch

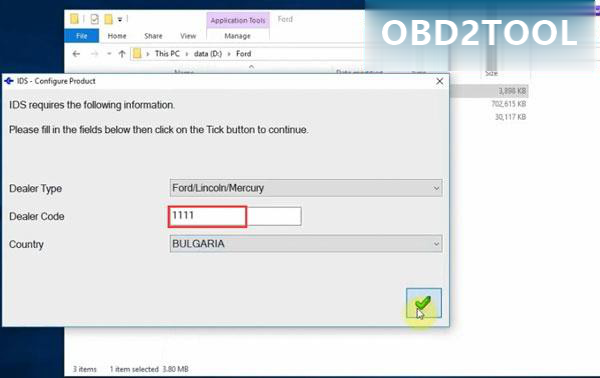
Ford IDS requires teh following information: dealer type

(Ford/Lincoln/Mercury),Dealer code (1111) and country Press tick icon to continue

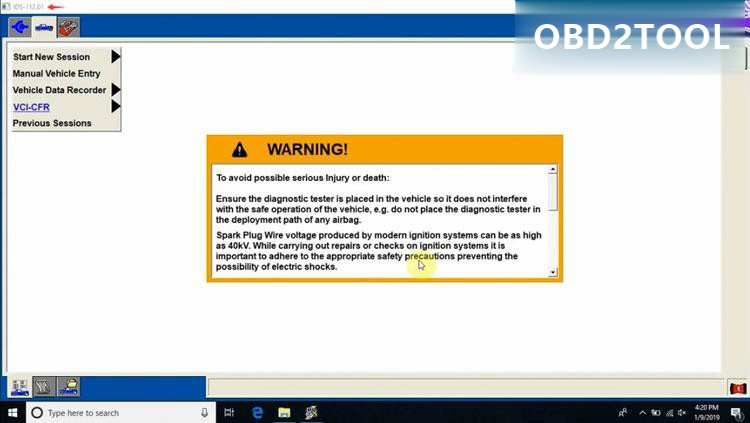
Auto starts IDS software and diagnose vehicle.

Done.