Monday, June 15, 2020

Unable to access wiTECH 2.0 when DealerCONNECT site is unavailable

At any time DealerCONNECT site is unavailable this affects the wiTECH 2.0 system. Detailed below are a few behaviors that you might encounter while attempting to use Chrysler wiTech MicroPod 2, but unable to do so, due to DealerCONNECT site or services being unavailable.
1. Attempting to login to wiTECH 2.0 site, and correct password is entered, but receive the message “Unable to login. Please check your user credentials and/or check to see if DealerCONNECT is experiencing downtime.”
Unable-to-access-wiTECH-2.0-when-DealerCONNECT-site-is-unavailable-1
2. Establishing connection to a vehicle but receive the message “Unable to reach DealerCONNECT. Some type of service information may not be available.”
Unable-to-access-wiTECH-2.0-when-DealerCONNECT-site-is-unavailable-2
If you are seeing the messages above, please check DealerCONNECT site status at https://sitestatus.dealerconnect.com/ before calling the wiTECH Helpdesk.

Steps to download and install the microPOD Setup Utility

IMPORTANT: Once the microPOD is configured using the microPOD Setup Utility, all the microPOD Wireless Settings will be deleted. You will be required to follow the instructions from the KB link titled “How to configure a Wireless Profile on a Micropod II“.
To download the application, please login to DealerCONNECT > Service > wiTECH Information > microPod Setup Utility
Step 1
Click on “Run” to begin the downloading process of microPOD Setup Utility.
Steps-to-download-and-install-the-microPOD-Setup-Utility-1
Step 2
The install wizard will appear to install the wiTECH Driver x64 onto your computer if your PC has not been installed with wiTECH 1.0 application.
If the PC has been installed with wiTECH 1.0 App, you will not see the screen below and proceed to Step 6. Otherwise, click “Next” to proceed.
Steps-to-download-and-install-the-microPOD-Setup-Utility-2
Step 3
Read the License Agreement carefully, and accept the terms in the license agreement. Then, click “Next” to continue.
Steps-to-download-and-install-the-microPOD-Setup-Utility-3
Step 4
You are now ready to start the actual installation of the driver. You now need to click on “Install” for it to start.
Steps-to-download-and-install-the-microPOD-Setup-Utility-4
Step 5
This will now install the wiTECH Driver x64. Once complete, the program will automatically proceed to the next step.
Steps-to-download-and-install-the-microPOD-Setup-Utility-5
Step 6
Once the installation has completed, click “Finish”. Proceed to the following section, “Using the microPOD Setup Utility”.
Steps-to-download-and-install-the-microPOD-Setup-Utility-6
Using the microPOD Setup Utility
NOTE: Please make sure that your computer is connected to the internet and the Chrysler diagnostic tool microPOD is connected to the computer via USB before starting this process. This application will help you configure your microPOD for wiTECH 2.0.
Step 1
Start microPOD Setup Utility by clicking the icon on the desktop:
Steps-to-download-and-install-the-microPOD-Setup-Utility-7
If the microPOD Setup Utility that is installed is out of date, you will be forced to update to the newer version of the application.
Step 2
Please make sure your microPOD is connected to the PC via USB.
Steps-to-download-and-install-the-microPOD-Setup-Utility-8
Step 2a
If you see the following screen you may not be connected to the internet, or have a firewall that blocks 1 or more of these websites.
Steps-to-download-and-install-the-microPOD-Setup-Utility-9
Select “Continue” on the next screen for wiTECH 2.0 Device Setup and Configuration.
Steps-to-download-and-install-the-microPOD-Setup-Utility-10
NOTE: If you only want to configure the wireless setting on a microPod device to use with wiTECH 2.0, click “Wireless Configuration” and follow instructions.
Steps-to-download-and-install-the-microPOD-Setup-Utility-11
Select “Continue” on the next screen to begin attempting to connect to the microPOD device.
Step 3
Once your microPOD II is recognized by the utility, select “Continue” to proceed with the configuration.
Steps-to-download-and-install-the-microPOD-Setup-Utility-12
NOTE: microPODs with a serial number beginning with “WFP” should NOT be used with this utility.
Step 3a
If the utility does not find the microPOD device, please assure that the microPOD is connected via USB and click “Refresh”.
Steps-to-download-and-install-the-microPOD-Setup-Utility-13
Step 5
The following screen will appear for up to 15 minutes while the microPOD device is being configured.
Steps-to-download-and-install-the-microPOD-Setup-Utility-14
Step 6
The following screen will appear when the utility completed the configuration of microPOD for wiTECH 2.0 Application.
Note: After microPOD Setup Utility is ran, all existing wireless networks will be removed from the microPOD.
Important! Leave the microPod Setup Utility window running as you will be required to complete software updates to the microPod device before configuring the wireless.
Step 6a
Login into wiTECH 2.0 with SID that has been assigned to the microPod at https://login.n.fcawitech.com . The microPOD II that was just configured using the microPOD Setup Utility should appear in the wiTECH 2.0 discovery. You will need to update the operating system of your microPOD II before it can be used with wiTECH 2.0. Click “Continue”, and your web browser will redirect you to the page to download and install the operating system update as seen in the following step.
Steps-to-download-and-install-the-microPOD-Setup-Utility-15
*NOTE: If microPOD II does not show up in discovery after a couple of minutes please power cycle your microPOD II by unplugging it and plugging it back in.
Step 7
Click “Update Now” and your microPOD II should continue to the update screen. Once updating, do not interrupt your microPOD II at any point until the update is complete.
Steps-to-download-and-install-the-microPOD-Setup-Utility-16
*NOTE: This can take upwards of 9 minutes. It is normal activity for the microPOD II to reboot.
Steps-to-download-and-install-the-microPOD-Setup-Utility-17
Step 8
Click “OK” and you will be navigated back to the wiTECH 2.0 discovery page. Your microPOD II should appear updated and ready for use.
DO NOT UNPLUG USB cable from the pod until the WiFi is configured successfully first.
Steps-to-download-and-install-the-microPOD-Setup-Utility-18
Steps-to-download-and-install-the-microPOD-Setup-Utility-19
Step 9
With the microPod Setup Utility still running, please follow the KB link listed below to configure wireless on the microPod device.
Tuesday, June 2, 2020

Off-highway equipment diagnostics and maintenance doesn’t need to be a headache. Cojali’s Jaltest is a versatile software that can be used for diesel trucks, marine applications and other diesel engines. But what this kit really excels at is its ability to work on construction and agricultural machinery. In this blog we will walk you through the details of coding a Heavy Duty Scanner John Deere injector using Jaltest in a few easy-to-follow steps!
JOHN DEERE INJECTOR CODING STEPS
1.Using your Cojali Jaltest Off-highway software, select the construction side by clicking the backhoe image.
2.From the list of manufacturers, choose John Deere.
3.Select a model from the list, we can narrow this down by selecting ‘K Series’ – this is a 410K.
4.From here you should see there are different levels of tiers and ECM levels.
5.You can run a system scan and choose your connector. We are plugged in with a green 9 pin.
6.Once the scan is complete (it might take a few minutes) it will indicate that we have an interim tier 4 engine and display fault codes.
7.Connect to the engine.
8.By clicking ‘read fault codes’ we can get some information about system identification.
9.Next we can select ‘System Data’ to see ‘ECU Data’ where we can see that we are plugged into a 4045 engine.
10.Go to the ‘Parameters Tab’ > find the ‘Injector Coding’ function > select & press ‘Accept.’
11.This screen will display the sheet that comes with the injector which lays out where to find the code information to update the ECU. Press the check mark on the right side of your screen.
12.After we do this it will look for all the current injector codes. This view shows your part number and your serial number.
13.You can modify this by selecting the cylinder information. Again, the new part reference, serial number and injector code information is on the sheet that came with the injector. The software will prompt you so you know when to enter each code.
14.Verify the information is correct and then accept. It will take you back to the injector codes so you can confirm that it has successfully updated.

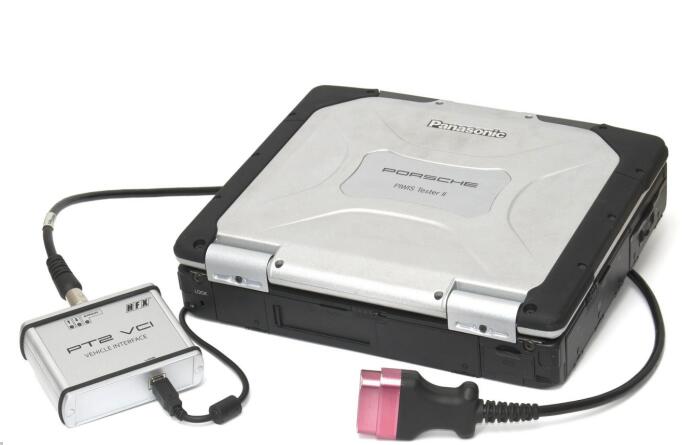
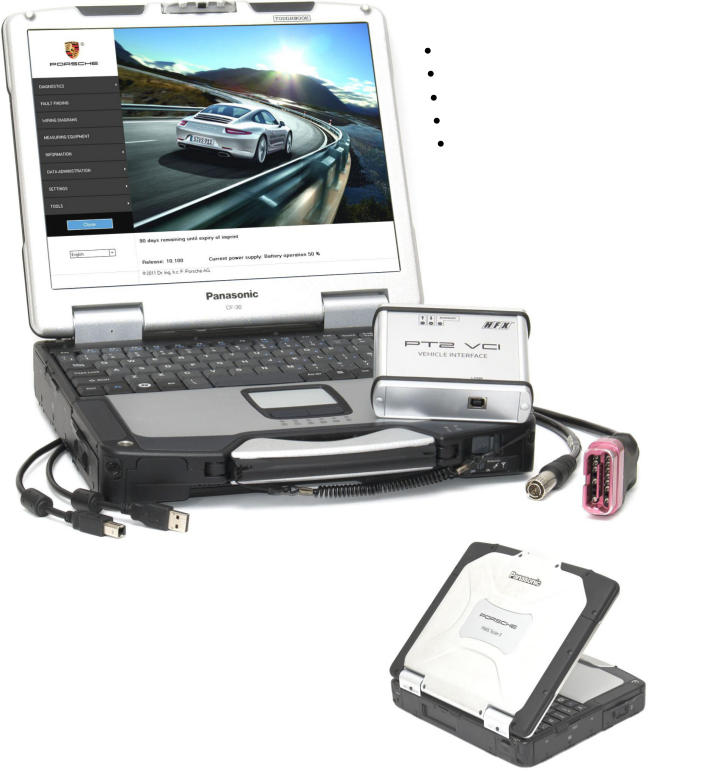
Porsche PIWIS Tester II Dealer diagnostic equipment


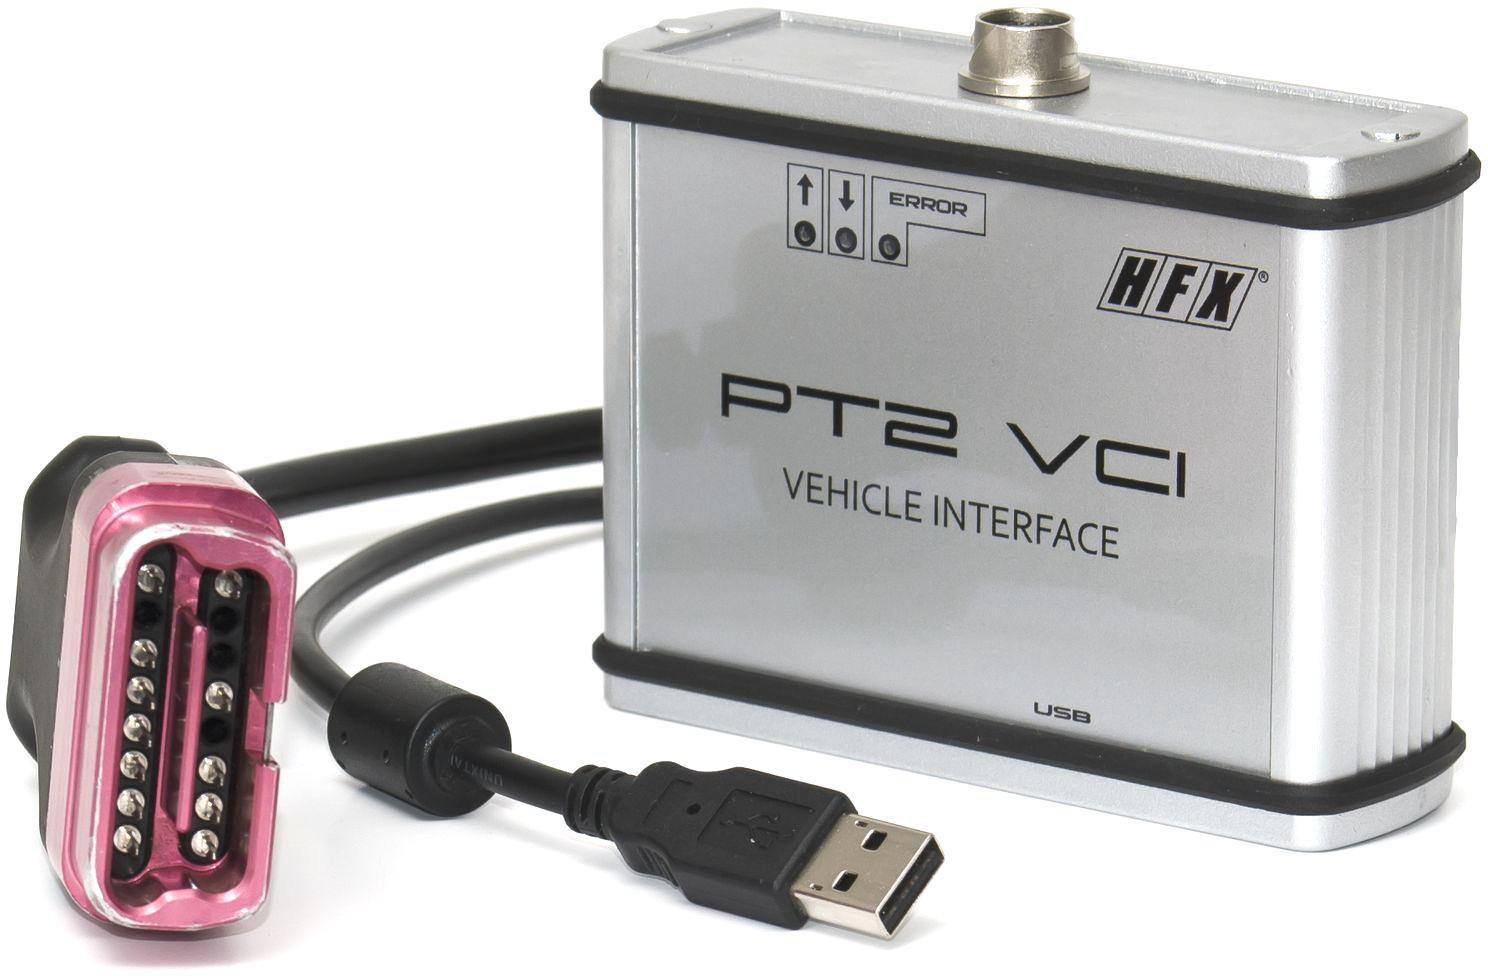
PIWIS PT2 is fully operational diagnostic equipment based on engineering vehicle interface VCI and Porsche software. PIWIS II provides exclusive support for Panamera and new Cayenne 92A.

Supported model range
Panamera (all types)
Cayenne 92A (MY2011-2012)
911 (997 facelift, 991)
Cayman (987C, 987C2)
Boxter (987, 987-2)

PIWIS II main functions
General ECU diagnostics (DTC read/clear)
Guided fault finding
ECU programming/coding
Real-time control parameters display
Electrical schematics mapping
PIWIS PT2 advantages
Exclusive support for Panamera and Cayenne 92A
Fast and stable VCI connection
Simulation mode (diagnostic session without VCI connection)
End user capable DVD update
PT2 equipment set includes
Panasonic CF30 notebook
PT2 VCI adapter
OBD and USB cables Laptop power adapter
Preinstalled software